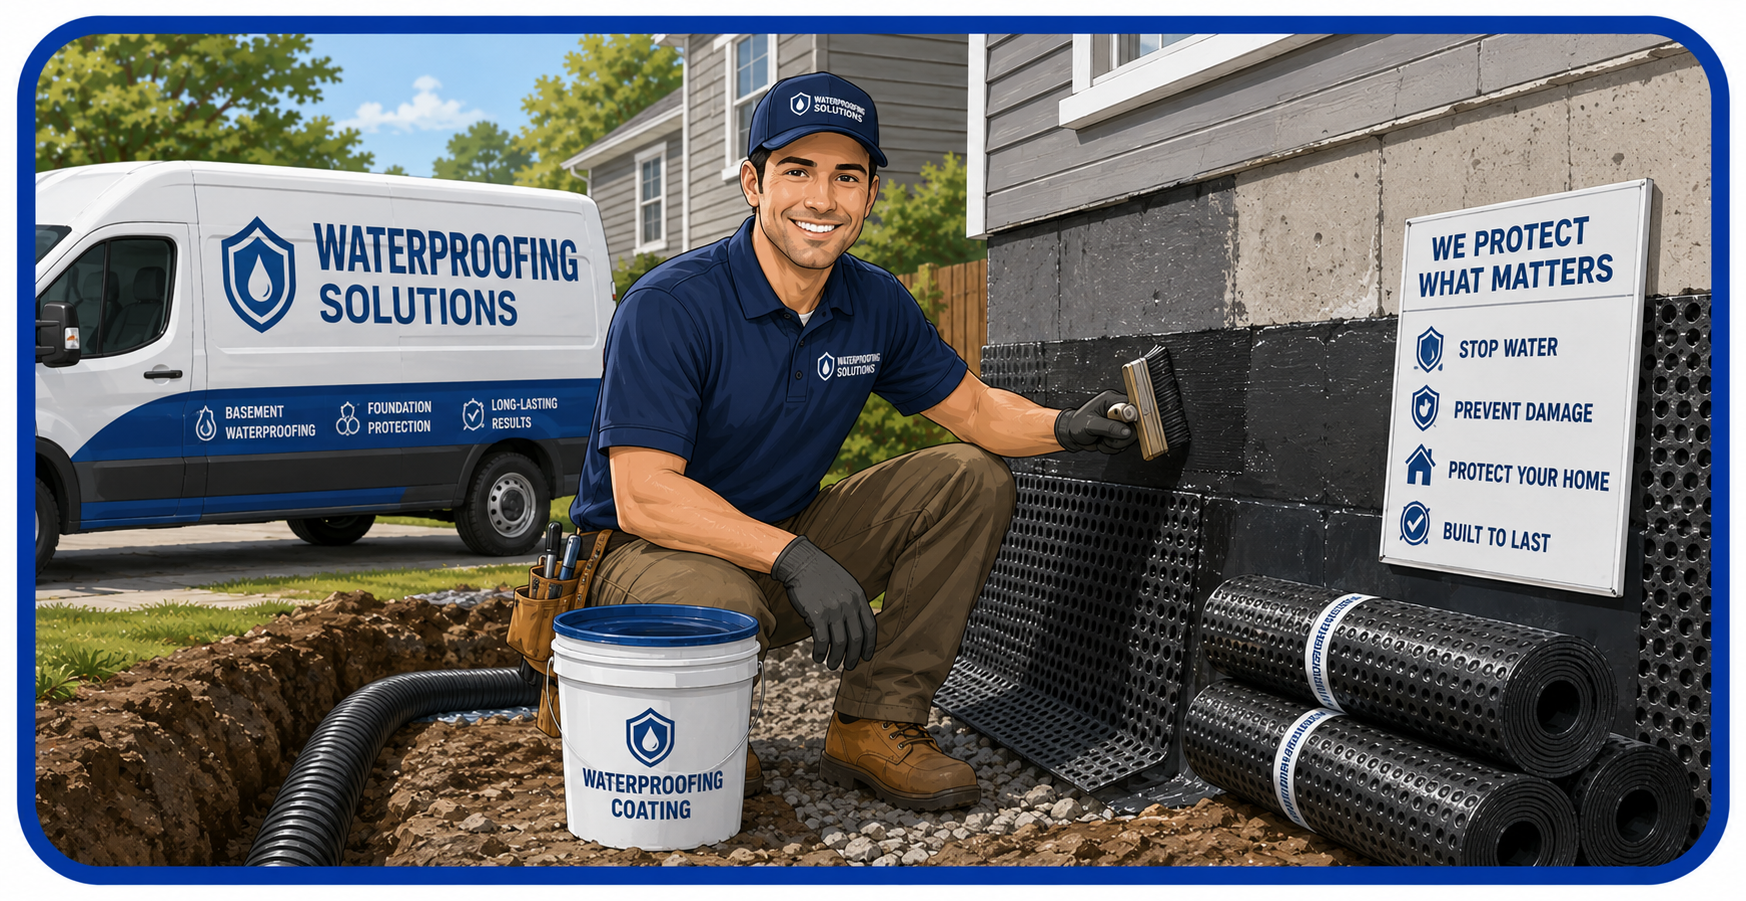
Professionally installed interior drainage that manages groundwater and hydrostatic seepage before it reaches your finished floor or stored belongings.
Effective, proven, and installed without disturbing your yard or exterior features.
All work is performed from inside the structure, preserving driveways, gardens, and exterior features.
Rather than waiting for water to accumulate, channel systems intercept it at the point of entry for immediate collection and removal.
Regardless of outdoor temperature or ground conditions, interior drainage installation moves forward on schedule.
Properly designed interior channel systems use gravity to route water to the sump pit without mechanical assistance, supplemented by the pump only when pit level reaches the activation threshold.
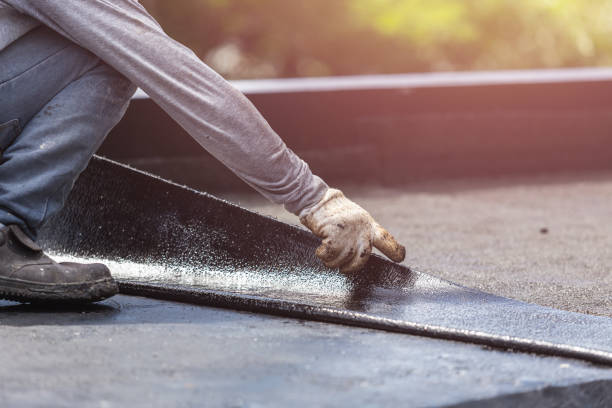
An interior drainage system addresses basement moisture by capturing and redirecting groundwater after it has entered the building envelope at the floor-wall joint or through weep holes at the base of the foundation wall. This differs fundamentally from exterior waterproofing, which prevents water from reaching the wall surface. Interior drainage accepts that water will enter under certain pressure conditions and provides a managed pathway for that water to reach a collection point without spreading across the basement floor or damaging finished materials. For Welcome homes where exterior excavation is impractical, cost-prohibitive, or where the moisture entry is concentrated at the perimeter footing level, interior drainage is the technically appropriate solution.
Perforated channel systems offer specific advantages over simple gravel-and-pipe installations in Welcome basements with block or stone foundations. The channel profile is engineered to sit at the footing level where hydrostatic pressure concentrates, and the wall flange extension captures seepage that occurs at the bottom course of block rather than strictly at the floor-wall joint. This distinction matters because without the wall flange, water running down the interior wall face bypasses the channel and spreads across the floor before reaching the collection point. Proper channel specification requires understanding where the moisture entry is actually occurring, which the assessment process documents before any installation begins.
Sump pit sizing for an interior drainage system in Welcome requires calculating the expected inflow volume per pump cycle to determine the minimum useful pit capacity. A pit that is too small forces rapid pump cycling, which increases motor wear and reduces system reliability. Our pit specifications for Welcome installations account for the channel length feeding the pit, the soil permeability documented during the assessment, and the seasonal inflow patterns typical for your area of Welcome, SC. These calculations are not guesswork; they are based on the same hydraulic principles used in commercial drainage design, applied to residential scale.
One of the most important honest assessments we provide in Welcome is explaining what interior drainage does not do. Interior systems do not treat the foundation wall itself, do not reduce hydrostatic pressure against the exterior wall surface, and do not address wall seepage that is occurring mid-wall due to horizontal cracks or structural movement. For those conditions, exterior membrane work or crack injection is the appropriate treatment. Interior drainage excels at managing water entry at the footing level, floor-wall joint seepage, and floor-level pressure seepage in situations where the foundation is structurally sound but the original waterproofing has aged or the perimeter soil conditions create chronic seepage during saturation events. We document which conditions are present in your specific Welcome basement and recommend the approach that addresses your actual moisture source, not a generic solution that covers all scenarios on paper but misses your specific entry points.
Every service performed to drainage system standards and local code requirements.
Our full perimeter systems capture seepage from every wall section, routing it to the sump pit regardless of which foundation wall is experiencing the greatest inflow at any given time.
Learn moreFor Welcome homes where moisture entry is concentrated on one or two walls, targeted channel installation along the affected sections provides effective protection at lower cost than full perimeter treatment.
Get an assessmentBlock and stone foundations in older Welcome homes commonly show mid-wall seepage that bypasses floor-level channels without the wall flange extension. We specify this component when the assessment shows wall-face moisture migration.
Ask about wall flangesPit location decisions consider channel slope, discharge routing, basement layout, and finished area constraints. We document the reasoning for every pit placement recommendation.
Plan your pit locationExisting interior drainage channels can become clogged with sediment, mineral deposits, or root intrusion over time. We inspect, flush, and repair existing systems in Welcome homes to restore full drainage performance.
Schedule an inspectionExpansion scopes are common when a homeowner finishes additional basement space and discovers that the existing partial channel does not cover the newly used area.
Expand your systemA methodical process that produces a drainage system built to perform for decades.
We inspect the basement under controlled conditions to document exactly where and how water is entering your Welcome home. We look for staining patterns, efflorescence location, floor-joint seepage evidence, and any wall-face moisture migration. This documentation determines the channel scope and routing.
Diamond-blade equipment cuts the perimeter trench to specified width and depth. Cuts follow a planned route documented in the installation drawing, ending at the designated sump pit location. Dust containment is deployed to protect finished areas of the home during cutting.
Each connection point between channel sections is inspected before the next section is placed to confirm continuity and proper slope transition.
Written completion documentation is provided at handoff, including channel routing dimensions, pit specifications, and pump information for future reference.
The results our Welcome clients experience speak clearly.
I appreciated that the technician was honest about what interior drainage would and would not fix. He identified one wall crack above the floor joint that needed injection treatment, separate from the drainage install, and explained why. That kind of transparency makes a real difference.
Our older block foundation was not a candidate for exterior work without major landscaping disruption. The interior channel system gave us the protection we needed without touching the exterior at all. The wall flange detail they added captured the seepage that was running down the bottom block course, which was the main issue.
The channel routing around our finished laundry room was handled cleanly. You cannot see where the channel runs under the new concrete. Professional work throughout.
What you need to know to make a confident decision about interior drainage.
The installation begins with saw-cutting the basement floor slab along the planned channel route, typically four to six inches from the foundation wall. The cut follows the interior perimeter of the basement and terminates at the sump pit location. Concrete is removed and the subbase is excavated to reach the footing level, then a gravel bed is placed, the drainage channel profile is set to slope toward the pit, and the wall flange is installed where specified. New concrete is poured to cap the system and restore the floor surface. Most residential installations in Welcome are completed in a single working day for standard perimeter configurations.
Interior drainage is a long-term system, not a temporary repair, when it is properly installed and the channel is correctly sized for the inflow volume. The channel system itself has no moving parts and requires no maintenance beyond occasional inspection. The gravel bed does not compact or break down under normal conditions. The drainage profile materials used in quality installations are rated for permanent soil-contact use. Systems installed decades ago continue to perform when the sump pump is maintained and the channel has not been blocked by slab settlement or debris infiltration.
We provide detailed written proposals for assessed conditions rather than phone quotes because every basement is different. We also explain whether the moisture pattern we observe is better addressed by interior drainage, exterior treatment, or a combination. Homeowners who understand the reasoning behind the recommendation make better investment decisions than those who receive a price without context.
Standard full perimeter interior drainage installation for a typical single-story Welcome basement is completed in one working day. Partial perimeter systems on one or two walls are typically finished in half a day. Basements with complex layouts, finished areas requiring careful routing, or multiple existing pipe penetrations crossing the channel path may extend the installation to a second day. We provide an accurate time estimate after the assessment so homeowners can plan for the dust and noise associated with saw-cutting, which is the most disruptive phase of the installation.
We offer annual drainage system inspection as part of our maintenance program in Welcome, which covers both the channel system condition and the sump pump. Catching issues like partial blockages or pump wear before they cause failure during a high-inflow event is the purpose of the inspection. Most homeowners find that scheduled annual service eliminates the reactive emergency calls that occur when a problem is discovered during a storm.
Interior drainage can be installed in a finished basement, though the process requires more planning and may involve temporary disruption of finished flooring and baseboard materials along the channel route. The saw-cutting must follow the perimeter regardless of what is installed above it, so finished flooring within the cut zone will need to be removed before work begins and replaced after the concrete cap cures. Drywall along the base of finished walls is typically removed at least partially to allow the wall flange to be installed properly. We document all disruption areas in the installation plan so homeowners can arrange for finish materials before scheduling the work.
Our certified drainage technicians serve Welcome and surrounding Welcome, SC communities. Call today for a free on-site assessment.
Call +1-866-476-1348 for Assessment